# 安装
# rpm 包安装
官网地址:https://www.rabbitmq.com/download.html
下载 rpm 文件:这里有两个需要下载,分别是 rabbitmq-server 和 erlang
安装文件:
1
2
3
4
5
6
| # 需要的环境
rpm -ivh erlang-23.3.4.11-1.el7.x86_64.rpm
# 依赖包,要联网
yum install socat -y
# 本身
rpm -ivh rabbitmq-server-3.10.5-1.el8.noarch.rpm
|
常用命令
1
2
3
4
5
6
7
8
9
10
11
12
| # 开机启动RabbitMQ服务
chkconfig rabbitmq-server on
# 启动服务
/sbin/service rabbitmq-server start
# 查看服务状态
/sbin/service rabbitmq-server status
# 停止服务状态
/sbin/service rabbitmq-server stop
# 开启web管理插件
rabbitmq-plugins enable rabbitmq_management
# 开启
|
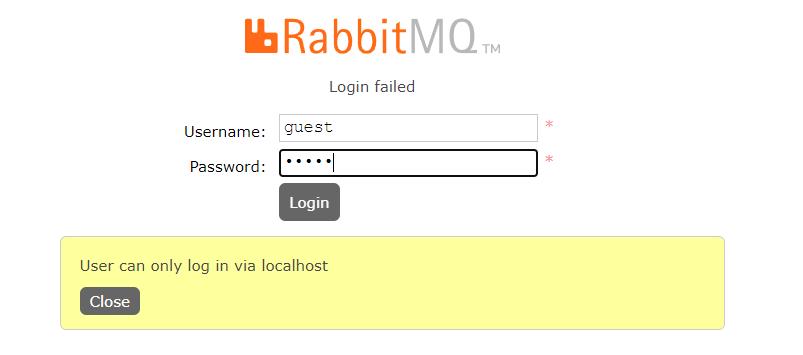
![image-20220627173744214]()
添加新用户
1
2
3
4
5
6
7
8
9
| # 创建账号
rabbitmqctl add_user admin 123
# 设置用户角色
rabbitmqctl set_user_tags admin administrator
# 设置用户权限 set_permissions [-p <vhostpath>] <user> <conf> <write> <read>
rabbitmqctl set_permissions -p "/" admin ".*" ".*" ".*"
# 用户 user_admin 具有/vhost1 这个 virtual host 中所有资源的配置、写、读权限
# 当前用户和角色
rabbitmqctl list_users
|
用户登录
重置命令
1
2
3
4
5
6
7
| # 关闭应用命令
rabbitmqctl stop_app
# 清除命令
rabbitmqctl reset
# 重新启动
rabbitmqctl start_app
|
# Docker 安装
# 获取 rabbit 镜像
1
| docker pull rabbitmq:management
|
# 创建并运行容器
1
| docker run -di --name=myrabbit -p 15672:15672 rabbitmq:management
|
—hostname:指定容器主机名称
—name:指定容器名称
- p:将 mq 端口号映射到本地
或者运行时设置用户和密码
1
| docker run -di --name myrabbit -e RABBITMQ_DEFAULT_USER=admin -e RABBITMQ_DEFAULT_PASS=admin -p 15672:15672 -p 5672:5672 -p 25672:25672 -p 61613:61613 -p 1883:1883 rabbitmq:management
|
# 查看日志
# 容器运行正常
使用 http:// 你的 IP 地址:15672 访问 rabbit 控制台
# 额外 Linux 相关排查命令
1
| > more xxx.log 查看日记信息> netstat -naop | grep 5672 查看端口是否被占用> ps -ef | grep 5672 查看进程> systemctl stop 服务
|
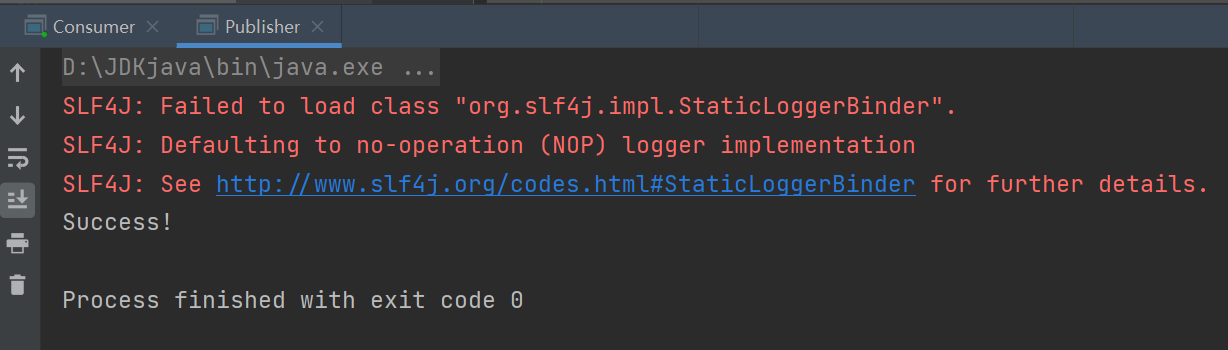
# 简单实践
采用简单模式进行代码实践
![image-20220630083249319]()
生产者 Producer
1
2
3
4
5
6
7
8
9
10
11
12
13
14
15
16
17
18
19
20
21
22
23
24
25
26
27
28
29
30
31
32
33
34
35
36
37
38
39
40
41
42
43
44
45
46
47
48
49
50
51
52
53
54
55
56
57
58
59
60
61
62
63
| package com.windlinxy.pqc;
import com.rabbitmq.client.Channel;
import com.rabbitmq.client.Connection;
import com.rabbitmq.client.ConnectionFactory;
import java.io.IOException;
import java.nio.charset.StandardCharsets;
import java.util.concurrent.TimeoutException;
public class Producer {
public static final String QUEUE_NAME = "hello";
public static void main(String[] args) throws IOException, TimeoutException {
ConnectionFactory factory = new ConnectionFactory();
factory.setHost("服务器ip");
factory.setUsername("admin");
factory.setPassword("123");
Connection connection = factory.newConnection();
Channel channel = connection.createChannel();
channel.queueDeclare(QUEUE_NAME, false, false, false, null);
String message = "hello world!";
channel.basicPublish("", QUEUE_NAME, null, message.getBytes(StandardCharsets.UTF_8));
System.out.println("Success!");
channel.close();
connection.close();
}
}
|
消费者 Consumer
1
2
3
4
5
6
7
8
9
10
11
12
13
14
15
16
17
18
19
20
21
22
23
24
25
26
27
28
29
30
31
32
33
34
35
36
37
38
39
40
41
42
43
44
45
46
47
48
49
50
51
52
53
54
55
56
57
58
59
60
61
62
63
64
65
| package com.windlinxy.pqc;
import com.rabbitmq.client.*;
import java.io.IOException;
import java.util.Arrays;
public class Consumer {
private final static String QUEUE_NAME = "hello";
public static void main(String[] args) throws Exception {
ConnectionFactory factory = new ConnectionFactory();
factory.setHost("服务器ip");
factory.setUsername("admin");
factory.setPassword("123");
Connection connection = factory.newConnection();
Channel channel = connection.createChannel();
System.out.println("等待接收消息.........");
com.rabbitmq.client.Consumer consumer = new DefaultConsumer(channel) {
@Override
public void handleDelivery(String consumerTag, Envelope envelope, AMQP.BasicProperties properties, byte[] body) throws IOException {
System.out.println("consumerTag :" + consumerTag);
System.out.println("Exchange : "+envelope.getExchange());
System.out.println("RoutingKey : "+envelope.getRoutingKey());
System.out.println("body : " + new String(body));
}
};
channel.basicConsume(QUEUE_NAME, true, consumer);
}
}
|
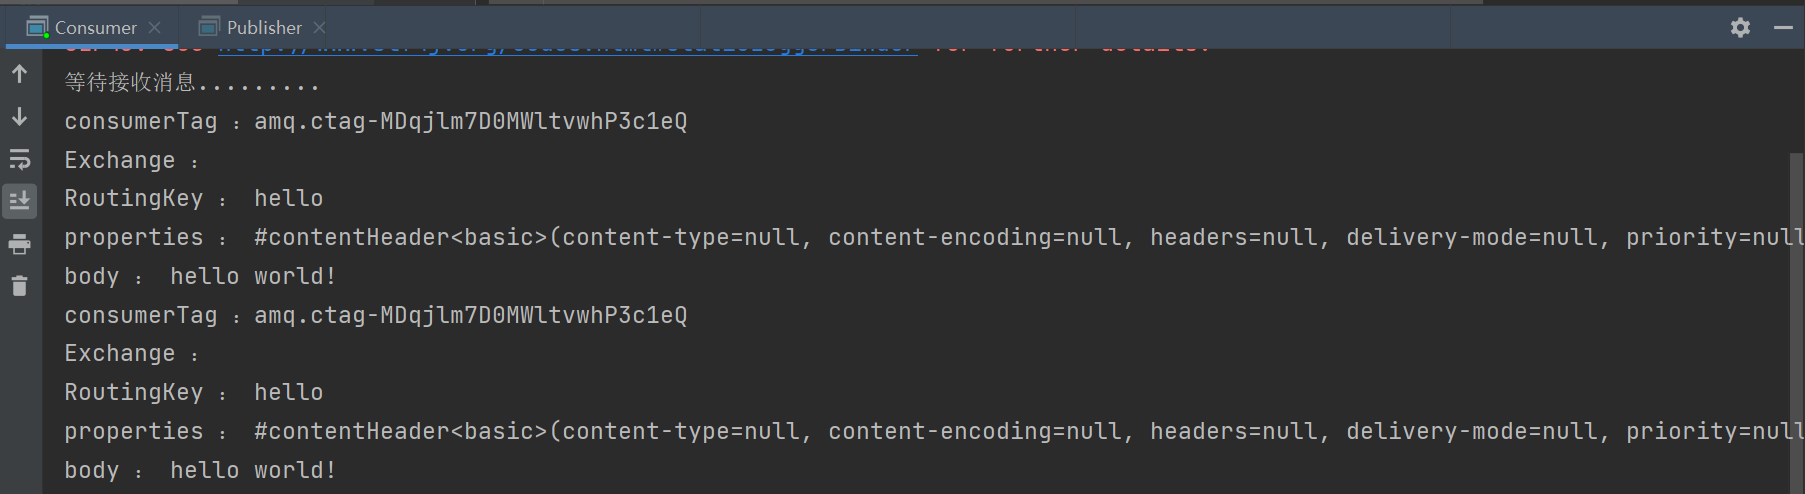
结果:
![image-20220630091648283]()
![image-20220630091704270]()